Closet Cosplay Ideas with Superhero-Inspired Accessories
By the WebShooter Team
Closet cosplay starts with clothing you already own and a small number of recognizable visual details. Choose a color palette, a clear silhouette, and one accessory that supports the look. You can create a deliberate superhero-inspired outfit without making a full armor suit or buying every costume piece at once.
The ideas below are styling suggestions. They are not complete costume kits, and the product photographs illustrate individual accessories rather than every outfit described.
Build the outfit around three choices
- Pick a reference or mood. Decide whether you want a recognizable character-inspired look or a general comic-book-inspired outfit.
- Choose two main colors. Use the clothes you own to repeat those colors in a top, trousers, shoes, or outer layer.
- Select one focal accessory. A wrist prop or chest light gives the eye a place to land. Check how it fits before adding more detail.
Lay everything out together before getting dressed. If several accessories compete for attention, try taking one away for the first fitting. The aim is a look you can describe clearly, with details that remain visible in a photograph.
Idea 1: a red-and-blue outfit with a wrist accent
Begin with a blue or red top, then repeat the other color in a layer or accessory you already own. Keep the sleeve opening clear enough to show the wrist prop. A bright design can become the focal point even when the rest of the clothing is simple.

The TMSA1 gallery shows a blue casing with a red circular centerpiece. The PS4 and TMSA2 designs provide different red-dominant options. Compare the shapes in our web shooter style guide rather than assuming that every design has the same outline.
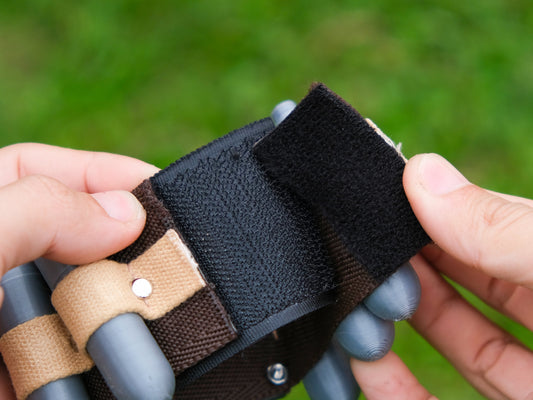
During the fitting, look at where the sleeve ends and whether it catches on the casing. If you add gloves, repeat the fit check over the actual glove fabric. Our wrist-measurement guide explains which dimensions to ask for.
Idea 2: a simple outfit with a chest-light focal point
Choose a plain top and position the illuminated accessory where it can be seen without a bag strap, jacket edge, or printed graphic competing with it. For a light worn under a shirt, test the actual fabric and layers before relying on the effect.

A jacket worn open can frame the chest area, while a simpler outer layer can keep attention on the light. These are composition choices: try a front photograph and a slightly turned pose to see which arrangement keeps the pattern visible.
The 5in1 arc reactor offers interchangeable face designs around one body. Confirm the strap fit, attachment method, and battery requirements before planning the rest of the outfit around it.
Idea 3: a dark outfit with a mechanical wrist detail
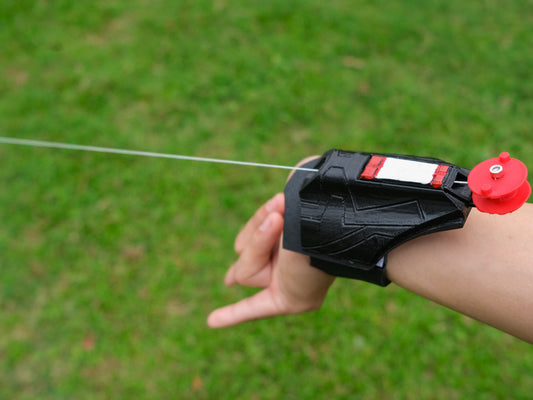
A dark top and neutral trousers can provide a quiet background for an angular wrist prop. In this version, the shape and small color accents do more of the visual work than a bright clothing palette.
Check that the accessory does not disappear against the sleeve in photos. Turn the wrist slightly toward the camera or place it against a simpler part of the outfit. You do not need to point a launching prop at anyone to make its shape readable; keep it inactive for the pose.
Check the outfit as something you will wear
- Can you move your hands and arms normally?
- Can you sit, walk, and carry your usual bag?
- Are straps, controls, and closures still accessible?
- Does the outfit work if the prop needs to be removed?
- Will the clothing and accessory be permitted at the event?
Try these checks before buying additional pieces. A single incompatible closure or sleeve seam can affect the plan more than an extra decorative accessory.
Take a fitting photo before the finished photo
A quick mirror image helps you see the silhouette, but a separate photograph at ordinary viewing distance reveals whether the focal point is clear. Take a front, side, and upper-body view. Keep the background simple, and note which sleeve or jacket position works best.
If the outfit includes a light, use our LED prop photography guide. For a complete event plan, use the convention packing checklist.
Choose the accessory after the outfit direction is clear: explore web shooter designs or wearable arc reactors, then confirm fit and included parts for the specific option.