Your Final-Week Plan for a Superhero Halloween Costume
The last week before Halloween is when a costume can become either much clearer or much more complicated. A new accessory arrives, a group changes its plans, and suddenly the outfit needs three more pieces. Start by choosing the version you can finish, wear, and enjoy on the actual night.
Superhero interest has a clear seasonal foundation: the NRF's 2026 Halloween survey places Spider-Man among leading children's costume choices and reports a focus on value and reuse. That is context for the season, not proof that every superhero accessory suits every age. This planning guide is for adults organizing their own outfits.
Seven days out: write a one-sentence costume brief
Describe the finished look without listing shopping items. For example: “A red-and-blue street-level hero with one visible wrist detail.” Another version might be “A workshop-inspired character with a chest-light reveal.” The sentence tells you what needs to read clearly from across a room.
Now divide your list into essential, useful, and optional. Essential means the costume loses its identity without it. Useful means it improves the experience. Optional means it would be fun if time allows. Put a cap on the optional list so it cannot quietly become the entire project.
Five days out: freeze new dependencies
Make an outfit version using only items already in your hands. Call this version A. If something is still in transit, build version B around its arrival, but keep A complete. An estimated delivery date is not the same thing as having time to try an item with your costume.
- Set aside the clothes and shoes together.
- Check the event's actual costume and prop rules.
- Choose one focal accessory instead of competing details.
- Stop adding tasks that depend on unfamiliar tools or materials.
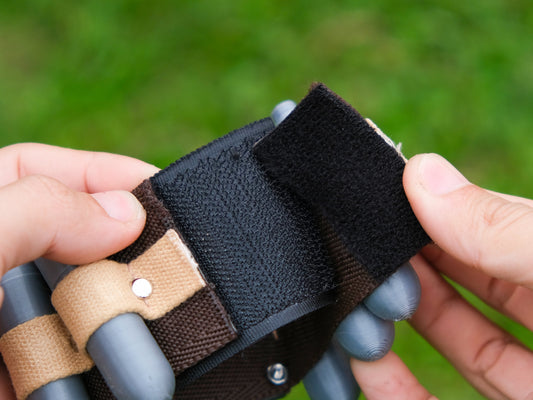
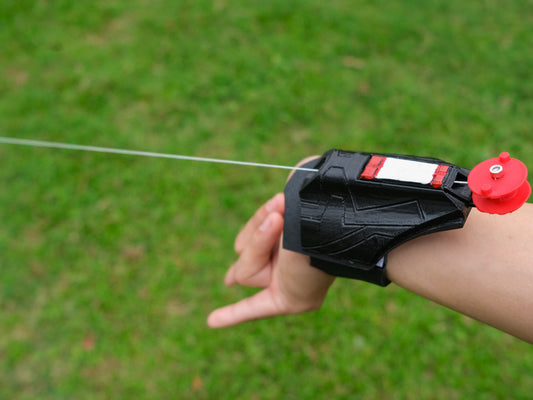
A web shooter can provide the wrist detail in the first brief. An arc reactor can provide the chest detail in the second. Neither choice needs to turn into a complete new costume build. Review the five-style comparison if you are planning a later purchase; do not let browsing derail this week's finished outfit.

Three days out: rehearse the real evening
Wear the outfit while doing the things the event requires. Sit in a chair, reach your phone, carry your bag, and put on your outer layer. If you will move between indoor and outdoor spaces, rehearse that transition too. An accessory that looks good in a standing mirror photo may get in the way of a jacket cuff.
Take one ordinary full-length photo rather than ten dramatic ones. Look for the first detail your eye notices. If the answer is an unrelated bag or a bright shoe, decide whether to repeat that color intentionally or simplify it. This is a composition check, not a request to buy everything again.
The day before: choose the fallback now
Write down what you will remove if the outfit becomes uncomfortable or the venue does not accept a prop. The remaining clothes should still feel intentional. Keep your character's color relationship or a recognizable silhouette so losing one accessory does not undo the entire idea.
Put small removable parts in a labeled container and keep the event address, arrival time, and admission details somewhere accessible. If friends are meeting you, agree on the meeting point before the day becomes busy.
On the day: protect the part you actually enjoy
Reserve a short photo window before the schedule gets crowded. After that, let the costume support the evening. You do not have to keep adjusting every detail to match a reference image. A finished, wearable outfit gives you room to talk, move, and have a good time.
For future events, browse the web shooter collection with this brief in mind: choose the detail that serves the outfit, then leave enough time to try it in context.